The poinsettia plant, with its iconic red and green foliage, is a staple of holiday decorations around the world. While most people purchase poinsettias during the Christmas season, many may not realize that these beautiful plants can be propagated and grown year after year, making your festive décor sustainable and rewarding.
Propagating poinsettias is a relatively simple process that can be done at home with a few materials and a bit of patience. Whether you want to multiply your existing plants or start with cuttings from a friend’s healthy poinsettia, this guide will take you through the necessary steps to successfully propagate poinsettias and care for the young plants.
Why Propagate Poinsettias?
-
Cost-Effective: Save money by growing new plants instead of buying new ones every season.
-
Sustainable Gardening: Reduce waste by extending the life of your poinsettias.
-
Gardening Satisfaction: Experience the joy of nurturing plants from cuttings.
-
Gift Options: Propagated plants make meaningful holiday gifts for family and friends.
Materials You Will Need
-
A healthy, mature poinsettia plant with strong stems
-
Sharp, clean pruning shears or scissors
-
Rooting hormone powder or gel (optional but recommended)
-
Small pots or containers with drainage holes
-
Well-draining potting mix (peat moss, perlite, or a mix)
-
Clear plastic bag or propagation tray with humidity dome
-
Spray bottle for misting water
Step 1: Selecting and Preparing Cuttings
Choose healthy stems of around 3 to 4 inches in length from your mature poinsettia plant. The best cuttings come from non-flowering, vigorous shoots with several leaves.
Using clean pruning shears, make a cut just below a leaf node (the area where leaves attach to the stem). Remove the leaves from the lower half of the cutting to reduce moisture loss and improve rooting.
If you have rooting hormone, dip the bottom end of the cutting into the powder or gel. This encourages root development but is optional.
Step 2: Planting the Cuttings
Fill small pots with your well-draining potting mix. Moisten the soil slightly, but do not saturate.
Insert the cut end of the poinsettia cutting about one to two inches into the soil. Firm the soil gently around the stem for support.
Place the pots in a warm location with bright, indirect light. Avoid direct sunlight, which can stress the cuttings.
Step 3: Maintaining Humidity and Moisture
Poinsettia cuttings need high humidity to root successfully. Create a mini-greenhouse effect by covering the pots with a clear plastic bag or place them in a propagation tray with a humidity dome.
Mist the cuttings regularly to keep leaves moist but avoid waterlogging the soil. Maintain soil moisture by watering lightly when the surface dries but do not overwater.
Step 4: Care During Root Development
Roots typically begin to develop within 3 to 4 weeks. During this time, continue to provide bright, indirect light and maintain high humidity.
Avoid fertilizing the cuttings until roots are well established. Monitor for any signs of disease or pest infestation, removing any affected parts immediately.
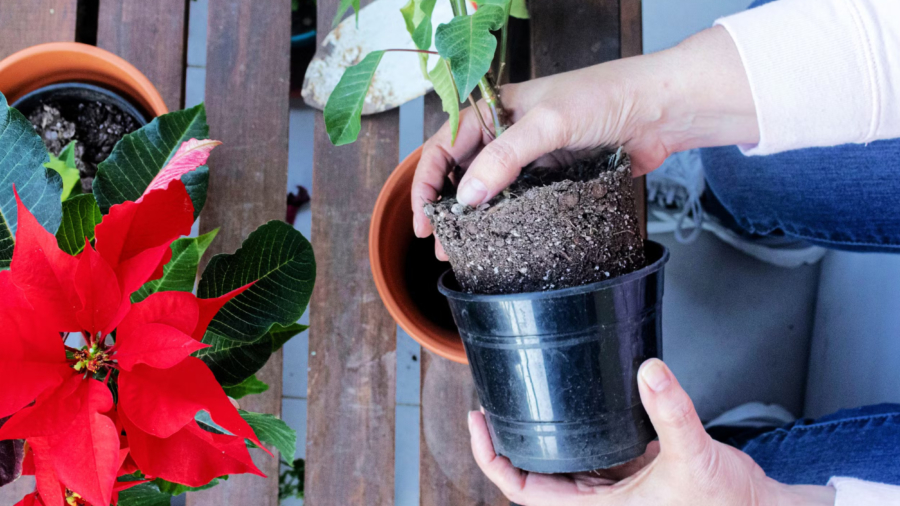
Step 5: Transferring to Larger Pots
Once the cuttings have developed a strong root system—usually after 4 to 6 weeks—they can be transplanted into larger pots with regular potting mix.
Gradually acclimate the young poinsettias to normal humidity levels by removing the plastic cover for increasing periods each day.
Continue regular watering and begin feeding with a balanced fertilizer every few weeks to encourage healthy growth and prepare the plants for holiday blooming.
Additional Tips for Successful Poinsettia Propagation
-
Take cuttings in late spring or early summer when the plant is actively growing.
-
Use sterile tools to prevent infections and fungal diseases.
-
Maintain a consistent temperature around 70-75°F (21-24°C) for optimal rooting.
-
Avoid direct sunlight and draughts during the rooting period.
-
Pinch back new growth to encourage bushier plants.
-
For a festive display, manage light exposure in early fall to stimulate red bract formation.
Common Problems and How to Avoid Them
-
Cuttings Dry Out: Keep humidity high and soil moist but not waterlogged.
-
Root Rot: Use well-draining soil and avoid overwatering.
-
Poor Root Development: Ensure sufficient warmth and light but avoid direct sun.
-
Pests and Diseases: Monitor regularly and treat promptly with natural insecticidal soap if needed.
High Authority Reference:
For an authoritative and detailed guide on poinsettia propagation, see Purdue University’s Extension publication: Poinsettia Propagation – Purdue Extension.
Conclusion
Propagating poinsettias from cuttings is an accessible and rewarding gardening activity that can bring holiday cheer to your home green spaces year after year. By carefully selecting healthy cuttings, providing the right environment for rooting, and caring for young plants as they develop, you can enjoy the beauty and symbolism of poinsettias beyond the traditional Christmas season.
With patience and the right techniques, propagating poinsettias transforms a seasonal decoration into a lasting botanical treasure. Whether for personal enjoyment or thoughtful gifting, growing your own poinsettias adds a meaningful dimension to holiday gardening.
Add a Comment