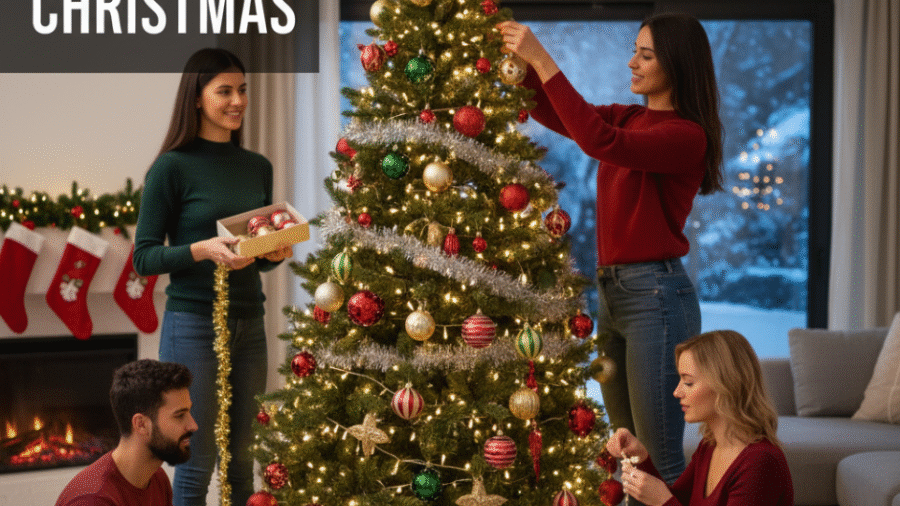
The Christmas tree is the centerpiece of holiday celebrations, bringing warmth, light, and festive cheer to homes around the world. But decorating—or “dressing”—a Christmas tree can sometimes feel daunting or overwhelming, especially for those aiming for a beautiful, balanced look that impresses guests and delights family. Fortunately, dressing a Christmas tree is a creative and enjoyable process once you understand the steps and techniques involved.
This comprehensive guide explains how to dress a Christmas tree step by step, including tips on theme selection, lights, garlands, ornaments, ribbons, and finishing touches. Whether decorating your first tree or a seasoned pro looking to elevate your style, this article will help.
Step 1: Choose a Theme or Color Palette
Before you start placing decorations, it’s crucial to decide on a theme or color palette for your tree. Having a cohesive design plan helps create a harmonious and professional look rather than a cluttered or random appearance.
-
Traditional themes often use classic reds, greens, golds, and whites.
-
Modern themes might feature monochrome palettes like silver and white, or trendy colors like blush pink, blue and silver, or rustic neutrals.
-
Personalized themes can reflect interests such as woodland, coastal, vintage, or festive whimsy.
Using only two or three main colors and coordinating materials and textures within those colors ensures that your tree will look elegant and balanced, regardless of the size or style of your decorations.
Step 2: Fluff and Shape the Tree
Once your theme is set, the next essential step is fluffing and shaping the tree. Whether your tree is artificial or real, properly spreading out the branches fills in gaps and creates a fuller, natural appearance.
-
Start from the base and work upwards, separating each branch and bending tips outward.
-
Use gloves to protect your hands, especially with artificial trees that can have sharp branch tips.
-
Open up areas that look sparse, and gently bend branches to fill holes.
-
For sectional artificial trees, shape each section before assembly if possible.
Fluffing can be time-consuming, but it’s foundational for a visually appealing tree that showcases decorations beautifully.
Step 3: String the Lights
Lights are the foundation of Christmas tree decorating and the first adornment placed on the tree.
-
Use LED strings for safety and energy efficiency.
-
Test all lights beforehand to ensure none are broken.
-
Starting at the bottom of the tree near the power source, weave lights into the branches, working from the inside trunk outward and moving upward.
-
For a warm, glowing effect, place lights deeper in the tree as well as near branch tips.
-
As a guideline, use around 100 lights for every 1-1.5 feet of tree height for even coverage.
Well-placed lights give your tree depth and sparkle before ornaments and ribbons are added.
Step 4: Add Garland and Ribbon
After the lights, add garlands and ribbons to bring texture, color, and dimension.
-
Choose garlands such as beaded strings, tinsel, or natural elements (popcorn, cranberries).
-
For ribbons, wired ribbon works best because it holds shape and is easier to manipulate.
-
Drape ribbon vertically or wrap it spirally around the tree, weaving it in and out of branches rather than just wrapping on the surface.
-
Layer multiple ribbons with varying widths and textures for an elegant, fuller look.
-
Start placing ribbons about 20-30% down from the tree top for best balance.
Garlands and ribbons help tie the theme together and prep your tree for ornament placement.

Step 5: Hang Ornaments
Ornaments are the heart of the Christmas tree’s personality and style.
-
Begin with large ornaments, spacing them evenly to anchor the look.
-
Add medium-sized ornaments to create depth and fill gaps.
-
Finish with small ornaments, especially near branch tips, to add detail.
-
Place some ornaments deeper inside the branches for texture contrast.
-
Mix different shapes, finishes (matte, shiny, glitter), and materials for visual interest.
-
Group similar colors or styles in clusters to create focus points.
-
Use hooks or ribbon loops to hang ornaments securely and adjust the height for balance.
A well-orchestrated layering of ornaments creates a dynamic, festive masterpiece.
Step 6: Fill in Gaps with Picks and Sprays
After hanging ornaments, step back and look for empty spaces or holes.
-
Use floral picks, sprays, or faux flowers to fill these gaps.
-
Options include berries, pinecones, metallic sprays, or crystal accents depending on your theme.
-
Insert them securely and at varied depths for a natural or luxurious effect.
-
This detail work adds dimension and completes the look.
Picks and sprays act like accessories, polishing your tree styling.
Step 7: Add a Tree Topper
No Christmas tree is complete without a tree topper, the crowning jewel that gives the tree its personality.
-
Classic toppers include stars, angels, large bows, or finials.
-
Choose one that complements your color scheme and style.
-
Secure it firmly at the tree’s apex.
-
Customize with ribbons or sprays if desired to enhance height and visual impact.
Step 8: Finish with a Tree Skirt or Collar
Finally, frame the base of your tree with a tree skirt or decorative collar.
-
Tree skirts hide unsightly stands and create a festive nest for presents.
-
Choose a skirt fabric and style that complements your tree’s theme.
-
Alternatively, tree collars in metal, wicker, or wood offer a chic, modern finish.
-
Position wrapped gifts, stockings, or holiday decor around the base for a complete holiday scene.
Bonus Tips for Dressing Your Christmas Tree Like a Professional
-
Stick to your color theme; avoid using too many colors.
-
Space decorations evenly to maintain balance.
-
Layer lighting, ribbon, and ornaments for depth.
-
Use a variety of textures and finishes.
-
Personalize with sentimental ornaments.
-
Always consider the room’s overall décor for harmony.
Read More: How is the Christmas Tree Tradition? Origins, Evolution, and Symbolism
Conclusion
Dressing a Christmas tree is both an art and a tradition, blending creativity with festive spirit. With this step-by-step guide—from theme selection through final touches—anyone can transform their tree into a stunning centerpiece that radiates the magic of the season. Take your time, enjoy the process, and most importantly, let your style and joy shine through.
For more expert tips on decorating Christmas trees beautifully, visit the professional decorating advice on Balsam Hill’s official blog How to Decorate Your Christmas Tree Like a Professional | Balsam Hill .
Add a Comment