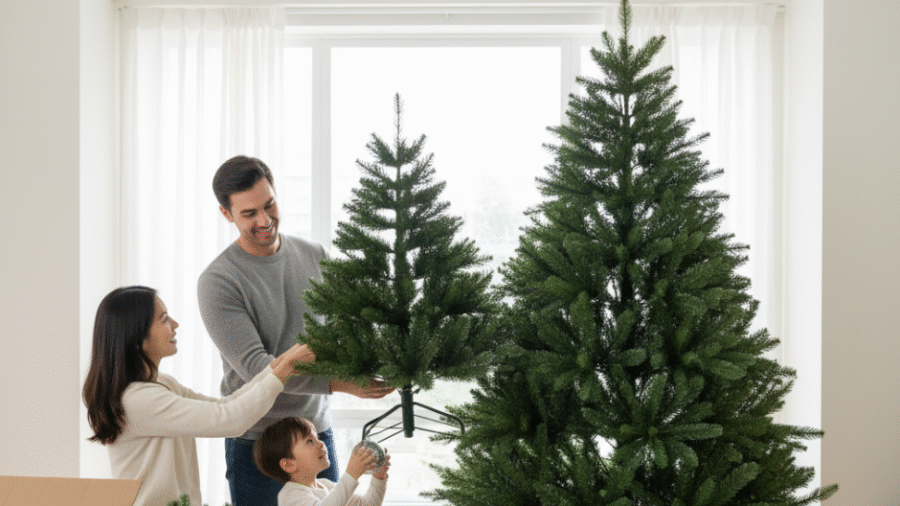
Artificial Christmas trees have become an increasingly popular choice for holiday decorating, offering convenience, long-term use, and low maintenance compared to real trees. However, properly setting up an artificial tree is essential to ensure it looks full, natural, and safe throughout the holiday season. Whether you are a first-time user or a seasoned decorator, knowing how to set up your artificial Christmas tree correctly can make a huge difference in the final appearance and ease of use.
This detailed guide covers everything needed to set up an artificial Christmas tree, from unpacking and assembly to fluffing and lighting, along with tips to maintain its condition for years to come.
Step 1: Choose the Right Location
-
Find a spot away from heat sources like radiators, fireplaces, or vents to prolong the tree’s life.
-
Ensure the location has enough clearance for the tree’s height and width.
-
Position near an electrical outlet for convenient plug-in of lights.
-
Consider floor protection if water or debris might occasionally fall.
Step 2: Unpack and Prepare Your Artificial Christmas Tree
-
Remove the tree from its storage box or bag carefully.
-
Lay out all parts, including multiple sections if applicable.
-
Read the manufacturer’s assembly instructions thoroughly.
-
Check for any damage or missing parts before starting.
-
Start by setting up the tree stand or base on a flat, stable surface.
-
Insert the bottom section of the tree into the stand and secure with screws or clips if provided.
-
Assemble any additional tree sections, typically by sliding or snapping pieces into each other.
-
Ensure all sections are firmly connected to prevent instability.
-
Begin with the bottom tier of branches and work upwards.
-
Spread out each branch and individual tips to maximize fullness.
-
Slightly bend and shape branchlets to avoid flat or empty spaces.
-
Use your fingers or a branch opener tool if provided by the manufacturer.
Proper fluffing transforms a compressed, artificial tree into a lush and realistic centerpiece.
Step 5: Lighting the Tree (If Pre-lit, Skip to Next Step)
-
If your tree isn’t pre-lit, wrap string lights evenly around the tree.
-
Start from the bottom and work your way up or vice versa.
-
Weave lights in and out of branches for dimension.
-
Test all lights before installation to avoid replacing bulbs after setup.
-
Use LED lights for energy efficiency and lower heat.
Step 6: Add Garland, Ribbon, and Ornaments
-
Incorporate garlands or ribbons following your decorating theme.
-
Hang heavier ornaments on sturdy branches lower down.
-
Place smaller decorations towards the top and branch tips.
-
Distribute decorations evenly for a balanced appearance.
-
Securely fasten your chosen tree topper (star, angel, bow, etc.) at the highest point.
-
Use floral wire or clips if necessary to keep it stable.
-
Step back periodically to inspect your work.
-
Adjust branches or decorations to cover any sparse areas.
-
Make sure electrical cords are safely tucked away to prevent tripping.
Maintenance Tips for Artificial Christmas Tree
-
After the holidays, disassemble carefully along manufacturer guidelines.
-
Clean dust and debris before storing by vacuuming or using a soft brush.
-
Store in a cool, dry place in a dedicated storage bag or original box.
-
Avoid compressing branches too tightly to maintain shape.
Benefits of Artificial Christmas Tree
-
Reusable for multiple years, reducing annual waste.
-
No watering or needle loss.
-
Safer around pets and children due to no allergens or sap.
-
Available in various styles, including flocked or color-themed options.
Read More: 100 Heartfelt Christmas Wishes to Share with Loved Ones
Conclusion
Setting up an Artificial Christmas Tree is a straightforward process when following a systematic approach of location selection, assembly, fluffing, lighting, and decorating. Proper setup and care ensure a gorgeous, safe, and festive focal point in your home that brings joy year after year.


Add a Comment