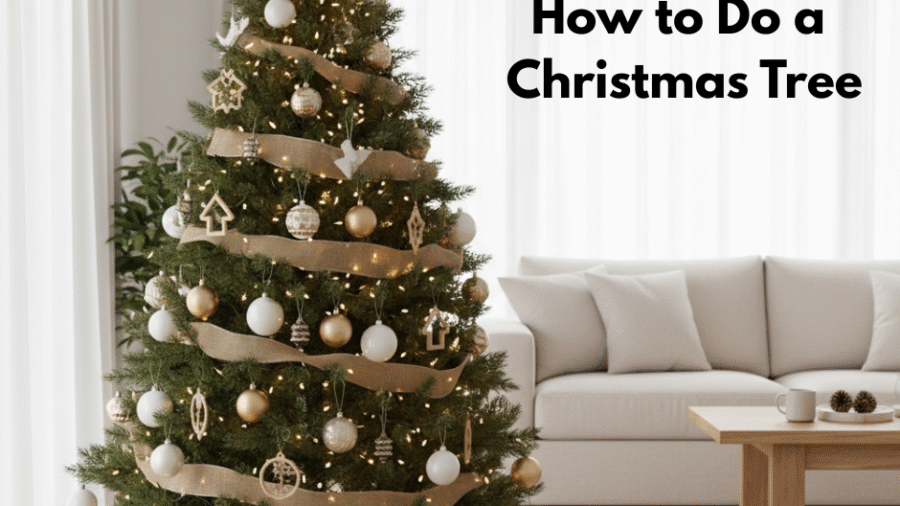
The Christmas tree is at the heart of holiday traditions worldwide. Its twinkling lights, colorful ornaments, and the warmth it brings to any room make it a festive must-have every December. However, many wonder: how exactly does one “do” or decorate a How to Do a Christmas Tree so it looks professional, welcoming, and full of holiday spirit? Whether starting from scratch or looking to improve on past attempts, this comprehensive guide covers everything about how to do a Christmas tree—step by step.
Why Decorating a Christmas Tree Matters
The Christmas tree is more than just a decorated plant — it symbolizes joy, unity, and celebration. A well-done tree can create a festive ambiance, bring family and friends together through the decorating process, and serve as a cherished backdrop for holiday memories. Doing your Christmas tree properly can also enhance the aesthetic appeal of your space and set the tone for the entire season.
Choosing the Right Christmas Tree
Before decorating, the first step is selecting the perfect tree, whether real or artificial:
-
Real trees offer fresh pine scent and natural beauty. Consider popular species like Fraser Fir, Douglas Fir, or Norway Spruce for their needle retention and shape.
-
Artificial trees provide reusability and require less maintenance. Choose one with realistic branch spacing and coloration.
When selecting a tree, measure your ceiling height to avoid buying a tree that won’t fit. Also, pick the tree’s best side that will face the room.
Step 1: Setting Up the Tree
Once you bring your tree home, it’s important to prepare and set it up properly:
-
Place the tree stand on plastic or towels to protect flooring from water spills.
-
Cut about an inch off the trunk base if it’s a real tree to help water absorption.
-
Secure the tree firmly in the stand so it remains straight.
-
Do not fill the water reservoir until the tree is properly set up.
-
If it’s still wrapped in netting, place it in the stand while wrapped, then carefully remove the netting to allow branches to spring open fully.
Step 2: Fluffing and Shaping the Tree
Fluffing the branches is essential to give the tree full volume:
-
Bend and separate the branches to fill any sparse spots.
-
Shake the tree gently to remove loose needles.
-
Let the tree drink water for several hours or overnight to hydrate and let the branches settle.
A well-fluffed tree offers more space for lights and decorations and looks visually more appealing.
Step 3: Adding Lights
Lights are the foundation of Christmas tree decorating:
-
Use high-quality LED lights for energy efficiency and safety.
-
Start at the base near the power outlet and weave the lights around branches, starting from the trunk outward, working upwards.
-
Use roughly 100 lights per foot of tree height for a balanced glow.
-
For a visually captivating effect, wrap the lights consistently or choose a pattern such as spirals or vertical lines.
-
Test the lights beforehand to ensure all bulbs work.
This layering brings the tree to life, creating enchanting sparkle both day and night.
Step 4: Hanging Garland and Ribbon
After lights, add texture and color with garlands and ribbons:
-
Choose garlands that match your theme—tinsel, beads, popcorn strings, or wired ribbon.
-
When using ribbons, drape or zigzag them carefully so they cascade naturally down the tree or wrap around it.
-
Start your ribbon placement about 20% down from the tree top for the best visual balance.
-
Secure ribbons with floral wire or tuck them between branches to keep them in place.
-
Layer large decorations first before adding smaller pieces for a balanced look.
Ribbons add dimension and visual interest, complementing both lights and ornaments.
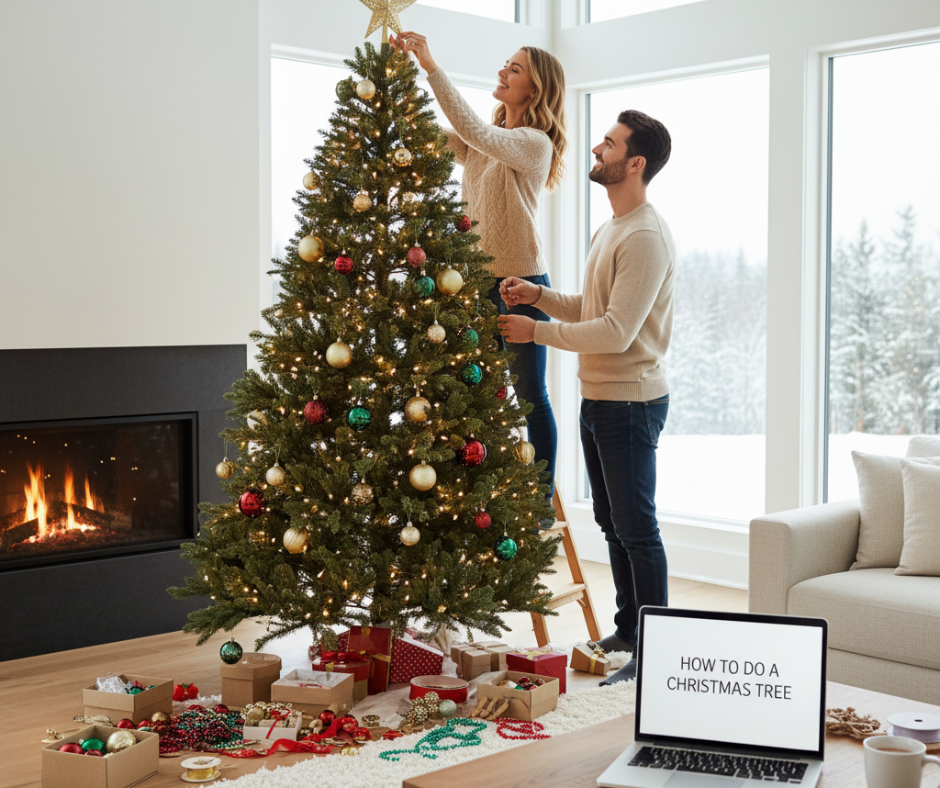
Step 5: Ornament Placement
Ornaments personalize the tree and complete its look:
-
Sort ornaments by size and color to maintain uniformity.
-
Start placing large or statement ornaments first, spaced evenly across the tree.
-
Fill gaps with medium-sized ornaments, and finally add small ornaments to create depth.
-
Hang some ornaments deeper within the branches to add texture.
-
Use hooks or ribbon loops to hang ornaments securely.
-
Group similar decorations or colors together in clusters for visual impact.
-
Add unique ornaments that represent family memories or themes for a special touch.
On average, a 6-foot tree calls for about 60-70 ornaments for balanced decorations.
Step 6: Finishing Touches
The final touches bring cohesion and charm:
-
Add a tree topper such as a star, angel, or ribbon bow to crown your tree.
-
Position a tree skirt or decorative fabric around the base to hide the stand and create an elegant gift display area.
-
Scatter tree picks—like pinecones, berries, or faux flowers—among the branches for added detail and texture.
-
Consider adding scented ornaments or room sprays to evoke a festive atmosphere.
-
Adjust lighting or ornaments as needed to ensure the tree looks unified from all angles.
Remember also to keep the tree watered daily to maintain freshness, which helps keep the needles from drying out and becoming a fire hazard.
Pro Tips for a Professional-Looking Christmas Tree
-
Plan your theme and color palette before starting. Traditional red and green, winter white, rustic gold, or trendy pastel themes are popular choices.
-
Use hooks, clips, and ribbons designed specifically for tree decorating to keep ornaments secure and safe.
-
Place larger decorations towards the bottom and smaller near the top to create stability and visual balance.
-
Layer lights beneath the ornaments to enhance sparkle and avoid shadows.
-
Take a step back regularly to view the tree and fill any bare spots.
-
Use a combination of matte, shiny, and glitter ornaments for a dynamic look.
-
Avoid overcrowding one side to maintain symmetry.
Why Decorating a Christmas Tree is a Joyful Tradition
Whether decorating alone or with family and friends, “doing” a Christmas tree is a creative and bonding experience. It allows people to express their personal style, reminisce about past holidays, and create new memories. The process itself is as meaningful as the result, filling homes with laughter, warmth, and the anticipation of a joyful season.
Helpful Resources for More Christmas Tree Inspiration
For more detailed ideas and inspiration on decorating Christmas trees, the expert guides from Martha Stewart Living are an excellent resource worth exploring. Their step-by-step advice and photography help home decorators elevate their trees to stunning centerpieces.
Visit: Martha Stewart Christmas Tree Decorating Guide for more tips and seasonal inspiration.
Read More: 5 Fascinating Facts About Christmas Trees You Need to Know
Conclusion
To do a Christmas tree beautifully, it takes careful selection, proper setup, and thoughtful decoration. Starting from choosing the right tree to the last ribbon placed and ornaments hung, each step contributes to making your Christmas tree a festive, radiant symbol of holiday cheer. With patience, creativity, and the guidance above, anyone can craft a Christmas tree that is not only visually stunning but also a heartwarming centerpiece bringing joy to family and guests throughout the season.
Add a Comment